When I married Seth, I thought his mom, Jeena, was.... well, "a health nut." She was so into healthy food that she grew and drank grass....wheatgrass. I thought it smelled awful (I don't like the smell of mowed lawn, and it kind of smells like that, minus the gasoline). I tried drinking it, and I was not a fan to say the least. I felt like I could taste it all day.
However, over years fraught health problems, I watched Jeena, and I started to change my attitude about the connection between food and health. After tens of doctors unable to help me, and tens of thousands of dollars of medical bills, I was willing to try just about anything. Even grass. It was beautiful and green, and Jeena, in her 60's seemed full of energy, and rarely ever got sick.
Jeena lent me this book (below) to read and learn about the purpose, the science, the benefits of wheatgrass. And that is all it took. Knowledge truly is power. I was suddenly able to drink something that I had formerly loathed. It wasn't delicious to me, but I could do it because I believed that it would help me, and it has helped me, Seth and even John. Yes, I even have my toddler drink it!
You can learn more about how to grow wheatgrass on this website below (the Hippocrates institute was founded by Ann Wigmore. He was a pioneer in natural food for healing. He said, 'Let food be thy medicine and medicine be thy food.')
It is a bit tricky to learn how to grow wheatgrass without a hands-on demonstration by someone who can teach you, so I've decided to create a step by step process guide with pictures that shows how I grow wheatgrass, with a few tips on the way.
First, you need to get some wheatberries, red or white. It doesn't matter which kind you use. You get excellent nutrients from either one, ***However, it is very important that you DO NOT try to USE CANNED WHEAT! The canning process makes it impossible for the wheat to germinate, and therefore it won't grow. You must use fresh wheat that has not been canned.
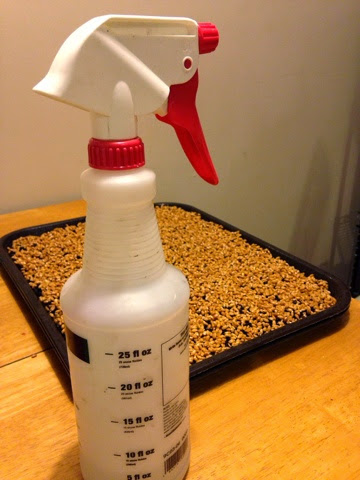
1. Soak your wheat overnight (or for about 8 hours) in a glass jar
Sprouting Trays:
I got this router so that I could sprout other kinds of things, and there are four trays, and it is about $20, the same price as one sprout master. So it's a good deal. And it works well, you just have to sprout less we took in a stray, so I just split it in half.
Here are my provitamix sprouts
I will do another post about spreading different things in the future.
The cheapest way to sprout, is in a mason jar. You need a mason jar, something like a cheesecloth to go over the top, and a rubber band. You soak your seeds overnight, and then in the morning your rinse them, dump the water out. And then put the cheesecloth and the rubber band on the top. It is optimal for them to be at a 45 degree angle. So put them upside down but tilted in a bowl, or in your dish drying rack. Rinse them 2 to 3 times a day, until your wheat berries are ready to plant (or whatever else you want to sprout)
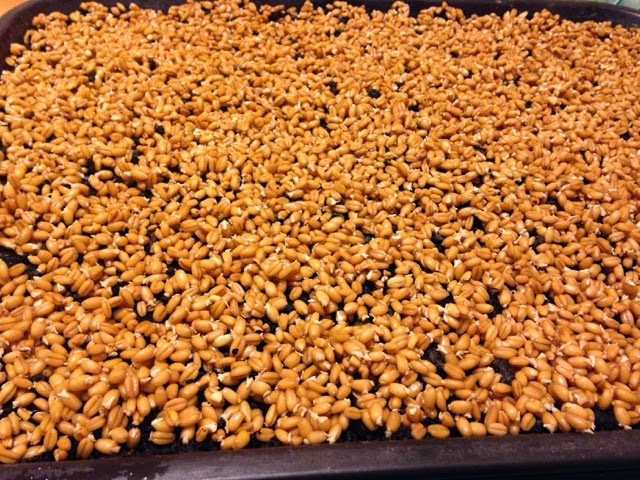
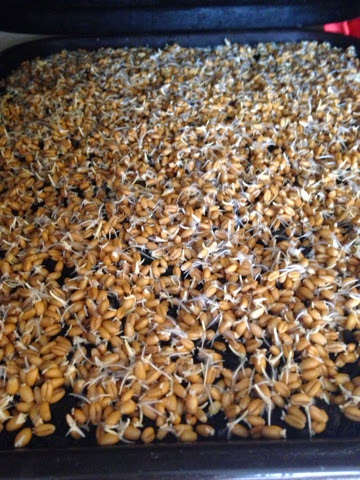
Ready to plant (this is hard red wheat)
Below is a picture of white winter wheat ready to plant)
Growing Trays:
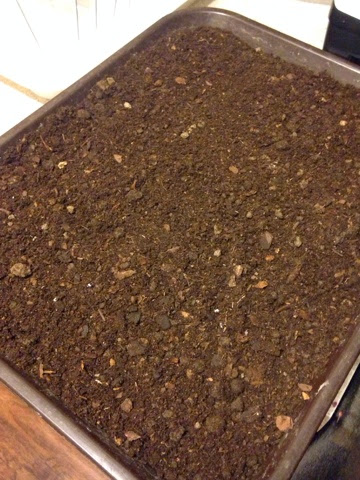
Planting
Day 1
Day 2
Day 3
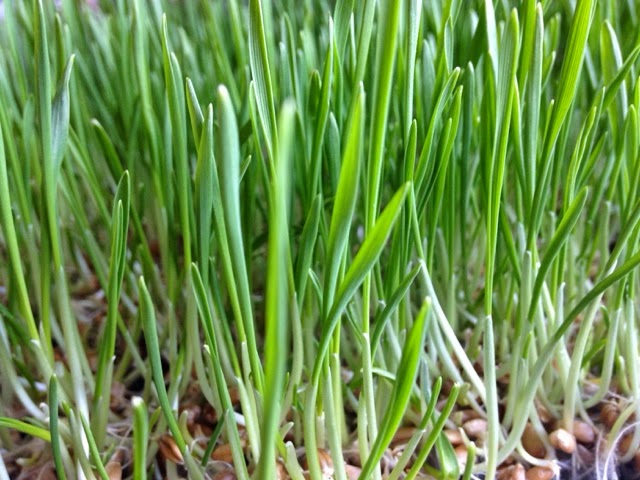
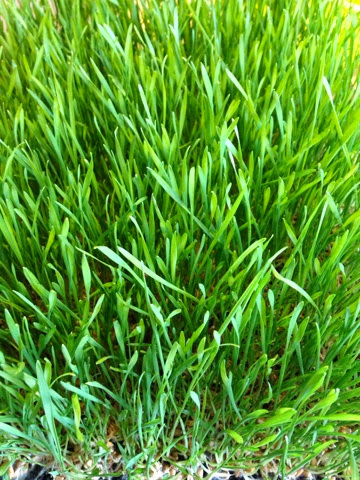
Day 4 - When I uncover the wheatgrass
Day 5

When you water your wheatgrass each day, turn your tray around, because it follows the sun and it will grow in quite a slant if you don't turn it. Turning it, also helps it to grow stronger since it finds the sun and turns the other way until it starts growing vertically.
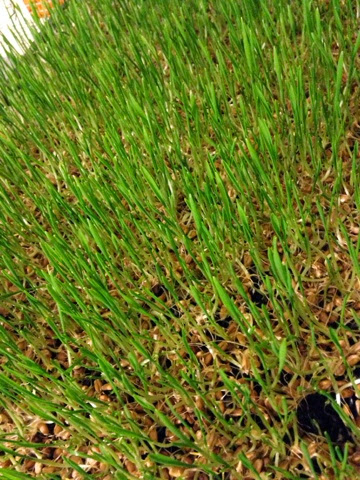
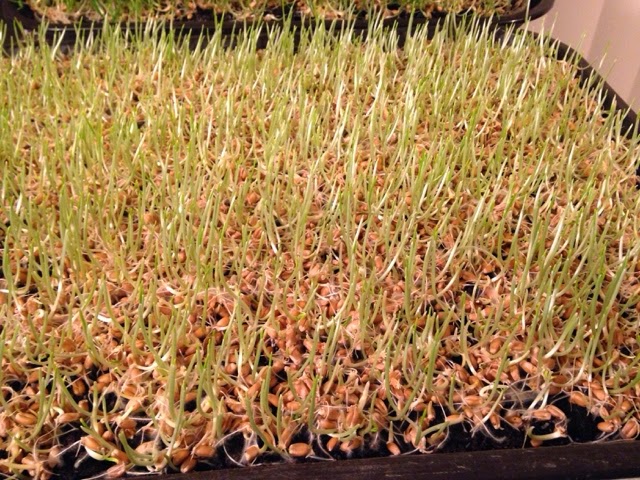
Day 6
Day 7
Day 8
After my wheatgrass has grown strong enough root system, I gently pull it up off the tray from one side, and I just pour the water underneath it, so the roots can soak the water right up. This helps decrease possibilities for mold and mildew to grow. After I pour the water in each side, I let it settle for a few seconds, and then I tilt the tray from side to side, to make sure the center of the root system also gets enough water.
Day 9

Day 10
Day 11

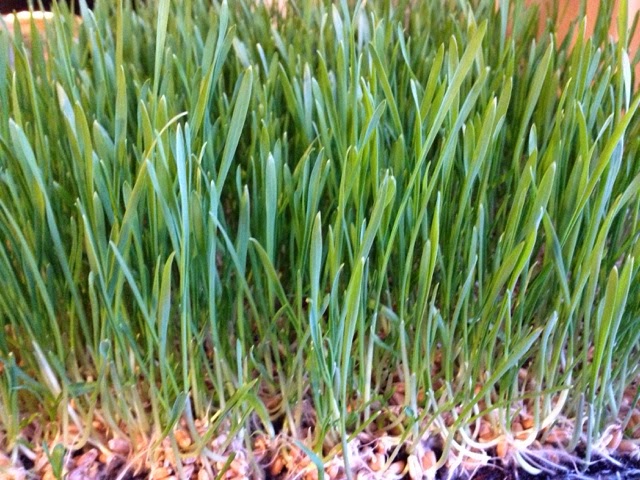
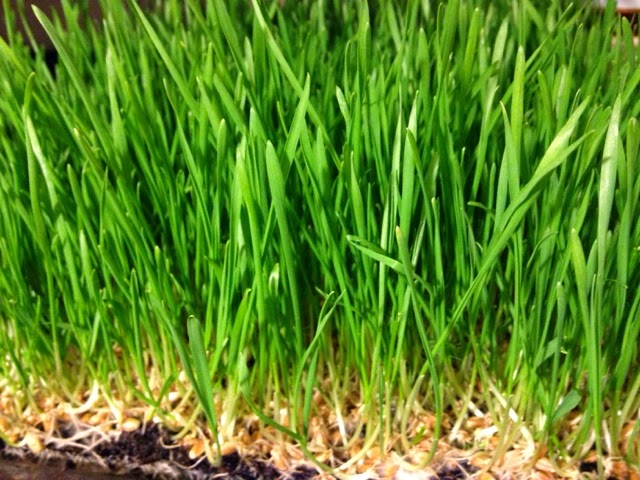
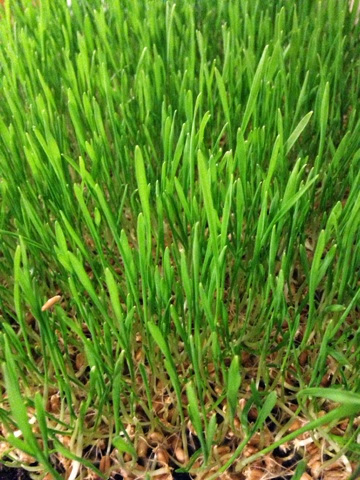
You will know that your grass is ready to harvest, when the blade splits. If there are two planes, for each wheat berry, it is ready to harvest.

Just use some very sharp kitchen scissors, get a handful with one hand, and then cut it while you still have a good handle on your handful..

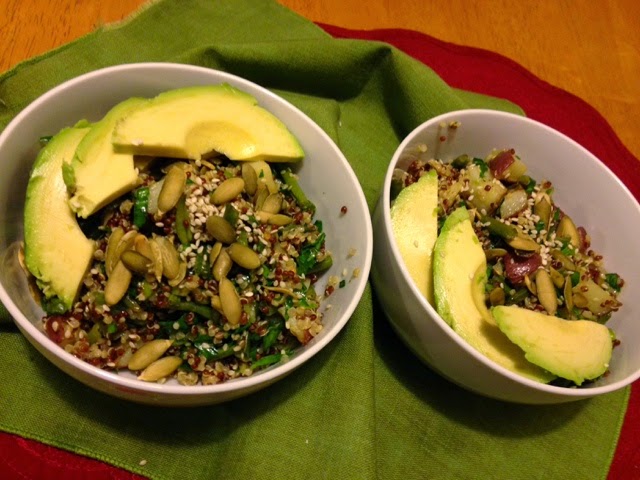
Then put that handful in your wheatgrass juicer, repeat until you have all the juice that you want to use at that time. It is good to drink between 1 to 3 ounces at a time. But if you're just starting out, I would recommend starting with about a half an ounce for a couple days and then increase from there.
The morning is best, right when you wake up. When you have an empty stomach. It is not good to drink wheatgrass when you are full. So I drink it, and then let it sit for about a half hour before I have some fruit. Strain your juice before you drink it, so that you don't have little blades of grass in it. I usually just put a little bit of water into my regrets, and drink some water after I drink it.
There are many other ways to use wheatgrass, other than drinking it. You can learn about them in Ann Wigmore's book, The Wheatgrass Book.
My saintly mother-in-law gave me juicer. You can find many types of juicers online. I would recommend reading many reviews before you decide which one you want. Any good ones that are electric will probably run between $100 to $300.
Wheatgrass will grow a second time after you cut it, and you can harvest and juice it a second time.
(actually, it will keep growing every time you cut it, if you keep watering it, but after the second time, many nutrients from the soil will be gone, and it won't be baby grass anymore, but full grown adult grass, which doesn't have as many nutrients.... And tastes much more bitter. Believe me!)
Sometimes, if I need to save time, or I have more wheat grass that needs to be harvested than I can use at that time, I will cut it and put it in an airtight container in the fridge. The sooner you use it, the more live enzymes and nutrients it has. But some wheatgrass is better than no wheatgrass. It can last in the fridge for up to seven days.
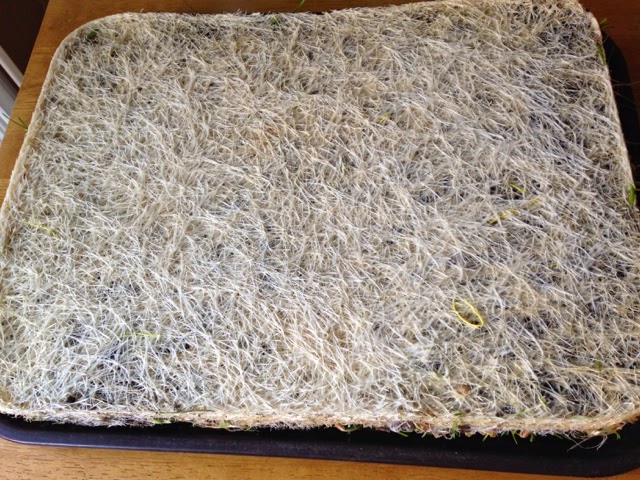
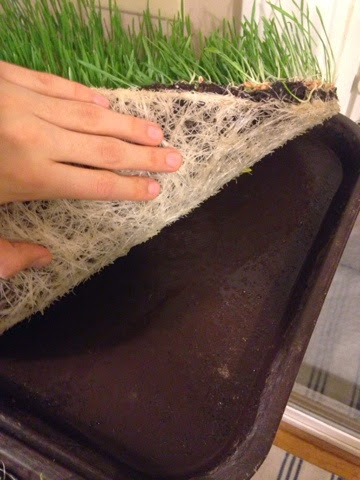
Wheat grass grows an amazing root system. After you have harvested your wheatgrass from the tray, you will have a wheatgrass Mat. The wheat grass mats can serve many purposes. You can compost them to create more organic matter to use to plant new wheatgrass, you can put it on top of your garden beds to enrich the soil, they will compost themselves eventually, while keeping weeds from growing. You can also use them to make a path through your garden bed, this is nice to keep mud off your shoes, and to mark the areas that you want to walk on.
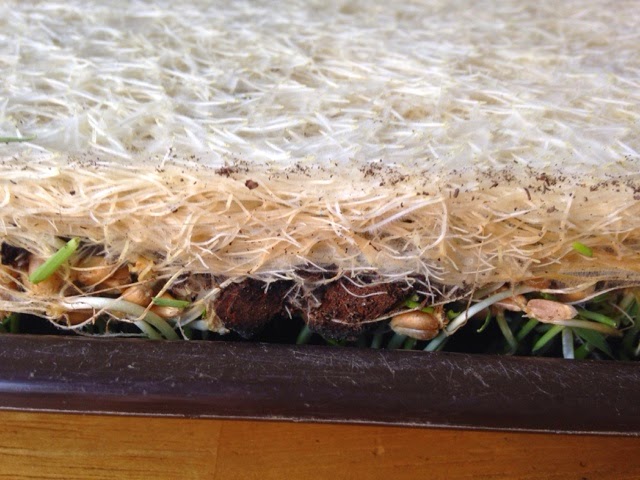
Eventually they will decompose as well, and the following year you can use those areas for planting in your garden, and they will be enriched with nutrients.


.JPG)


 And my alfalfa sprouts


